Friday, December 26, 2014

Amanda's Quilt -- A Beatiful and Simple Way to Use Up Those Scraps


Combine a snazzy border technique, some creative applique and oodles of already cut block and you can have a lovely quilt almost like this.

S has been making quilts for each person in her husband's family. This jewel is for a sister. She loves blues and deep, rich colors so we began by choosing a color pallet and then hitting the 3 1/2" square stash.

We started with a 16 x 16 block center. It was edged with a white and dark brown sawtooth strip. Each of the four corners start with 14 block and 2 triangles decreasing one block on each side per row. It is also edged with the sawtooth strip on its long side. S created the quilt's showpiece by designing a flowing, flowering vine that twists on and off the work. It even incorporates an initial.

Getting there. How about adding a bit more length and choosing borders?

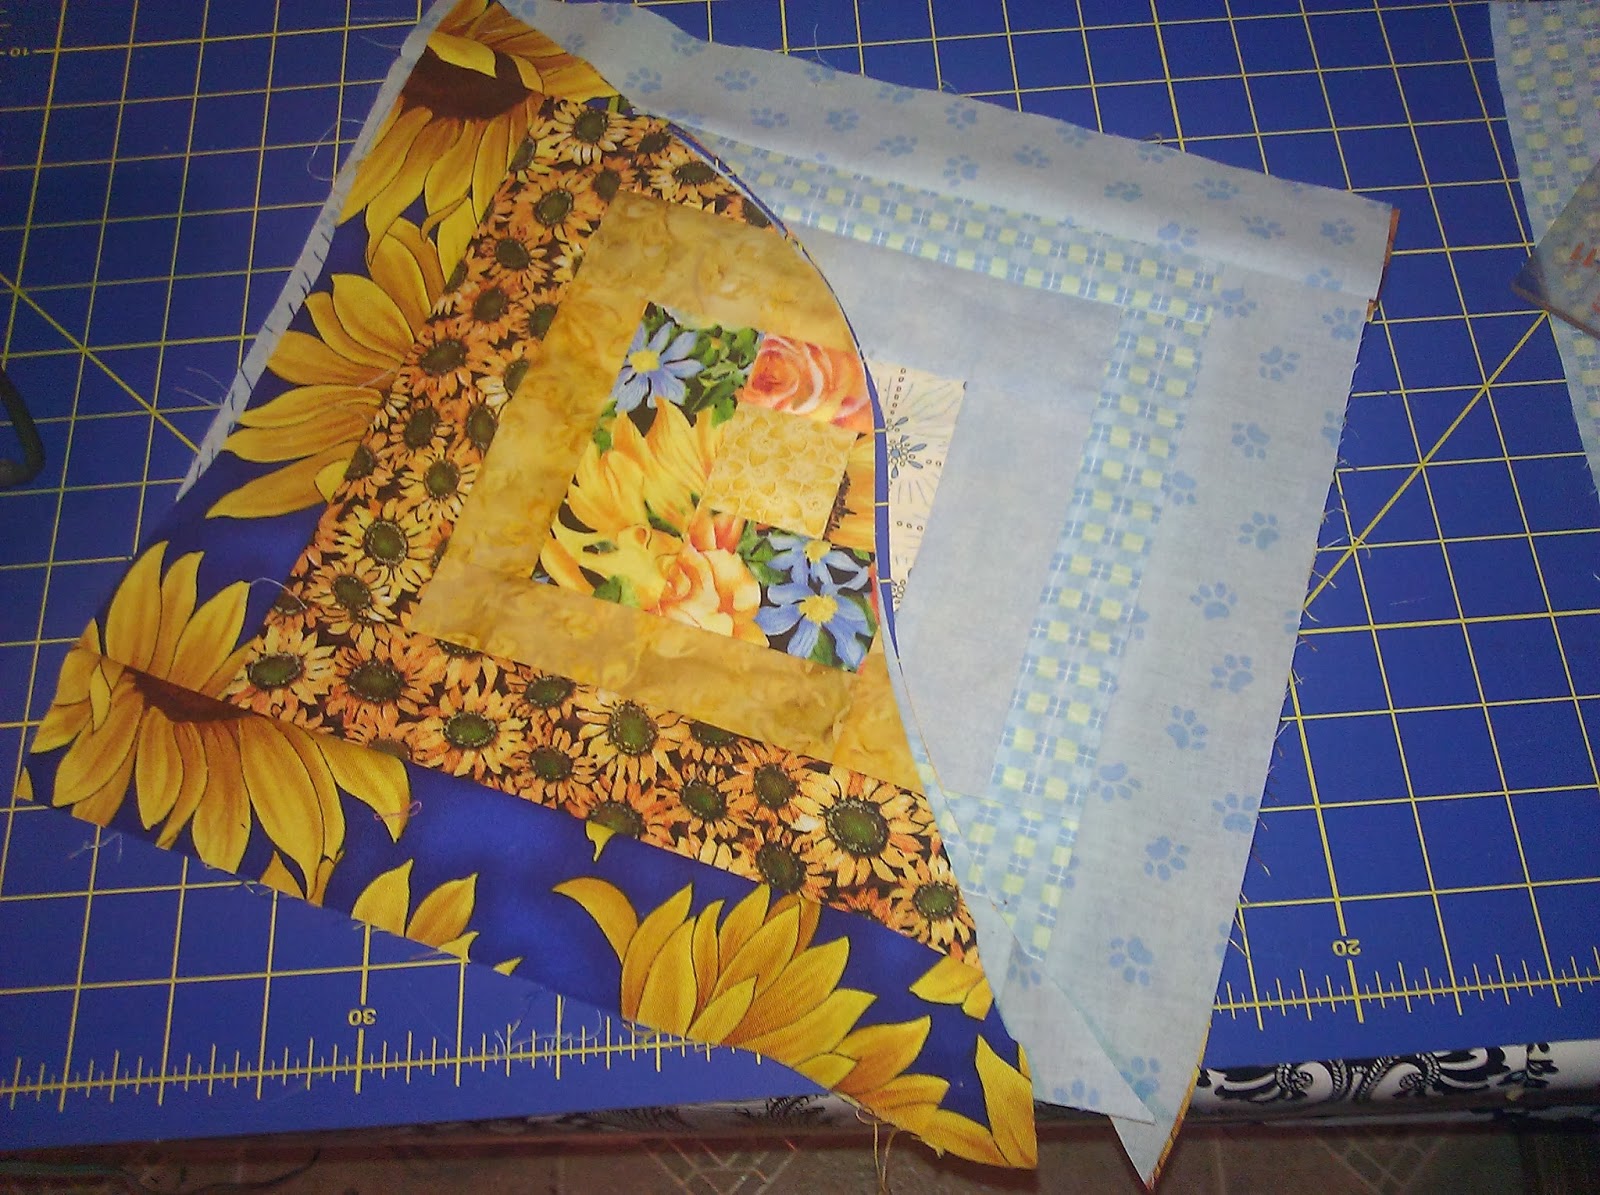
To make the quilt a little longer, we added a strip of matching fabric. A small, dark colored border popped the center a bright outer border finished the quilt top. Since the back featured an oriental print (see below), we decided to also use one for the border and the length extention.


Things had gone alone quite smoothly, to this point but we were soon to face quite the challenge. S had planned to gift it at Christmas. We had an appointment to use the long arm the December 19th. Plenty of time! Or so a person would think. Something bad happened the evening before to the bobbin assembly and the other machine was taken. I took the offer of a later date and the suggestion that we prepare the binding in advance.

R and I returned on Christmas Eve and got busy. She quilted this one first, using a ferny leaves and flowers pattern. We thought it needed some curves to balance the square blocks.

The minute it came off the long arm, I sewed the binding in place and sat down to hand stitch the second side down while R and S quilted two other quilts, the firefly baby quilt and a Halloween lap quilt.

It was ready by morning. Merry Christmas, A!

Saturday, November 22, 2014

Hands and More Hands

Your little boy is now 6'6" and his hands can palm a basketball. Remember back when those tiny hands were dwarfed by yours? This quilt remembers as well.

Almost done -- just needs the binding stitched down

A friend had a stack of 49-8" hand blocks from an online mommies' club. She asked if I could make them into a quilt.

"What size?"
"Not too big."


It could have been 7 x 7, but square quilts and rectangular beds aren't always a great fit. If I made it 6 x 8, I've have to leave a block out so opted to add some filler blocks. The filler blocks and the mommies' group blocks were arranged 7 x 8 grid, stripped with a dark blue batik.

Then I visited. My friend pointed to a blank spot on the wall as the future home for the quilt. It didn't take much spatial ability to see that my definition of not too big and that spot on the wall were dramatically different. Even a 7 x 7 grid pieced directly together would overwhelm the area.

So I thought a while, took the first quilt apart, bagged the squares and thought some more...and more. About 12 year later (yes, that little guy from the mommy group is off to college), I had a brain storm. How about a 5 x 5 reversible wall hanging. I could do that. Here's how it looks:

Quilt front (and fuzzy dotted jammie pants)
Quilt back

Friday, October 3, 2014

Yo, Beach Babe!

A surprise quilt for a surprise baby!

The nursery is done in a Hawaiian beach (think Lilo and Stitch) theme so we made this quilt to match. The baby's name has been blurred to protect the her privacy.


Putting It All Together

We started with this sketch, done by one of the S's who also helped create the artwork in the nursery. Once we had an idea, we hit the fabric stash and pulled out colors that would complement the walls. We needed blues for the ocean, greens for the trees and bushes, something bright for a surboard, a few brilliant colors for the tropical flowers, white for the fluffy clouds and a shiny yellow for the sun.

Challenge accepted!

The ocean looks lovely doesn't it? We paper pieced the sea together in a fit of insanity. Do not do this the way we did! It was a bad plan. The curves were too long and too tight for the fabric to lay smoothly. I'd suggest needle turn or your favorite applique instead.

The sand was created using a stack and whack technique from Browsing the Web, found in "New Cuts for New Quilts," by Karla Alexander. After the blocks were stitched into a long strip, we top stitched the ocean to the sand and hid the seam with blanket stitching. If you look closely you can see blanket stitching on some of the waves.

Another lesson learned this quilt. Letter are difficult. I'd tried to applique cut out letters in italicized cursive writing -- also a bad plan. We ended up embroidering it in bullion knot which turned out great.

The flowers were a lot easier than they look.

R quilted to match the area. The trees are filled with a meander. The ocean has waves and the sky looks as if someone drew in the wind. She left the tree stems and flowers empty for extra dimension but quilting in close to them.

Those extra inches of palm fronds? We'll get a look at them later.
Here's a close up of the sky and trees. You can almost see the wind lifting the branches.

You can see the blanket stitch holding them down. We chose a variegated green floss and used two strands.

Remember the dangling palm fronts. Look below. We continued them onto the back.


All in all we're very happy with the way this little quilt turned out.


Tuesday, March 4, 2014

Everything Little Boy Quilt

Frogs, water, kites, fish...everything little boy. This quilt has them all set in a snowball pattern and surrounded by tiny, bright squares.


Here are a couple individual blocks. You can see my quilting. I did it on my sewing machine and think it turned out pretty good.

Tuesday, February 25, 2014

Curvaceous Cabins - Bendable Quilts

A few years ago I attended a Peggy Barkleys workshop, Curvaceous Cabins. It was based on her book, Bendable Quilts. Workshop allow you to learn new techniques while chatting and laughing with friends. Certainly that's a win/win situation. This one was more -- I came home with a fail-proof technique to use up those leftover 1/4 yards and less hunks.


First step was to pick out a light and dark color pallet. The blocks began as typical log cabins, but were trimmed asymetrically after each round. Sounds a bit absurd but results in a sliced block with no overlapping seams. I laid my cutting guide over a block so you could see how some strips are 1" and others are 1 1/2".


I ended up with six dark blocks and six light ones. Now for the fun! Stack a dark block on a light one and free hand cut from diagonally from corner to corner. I tried to miss the center blocks to reduce bulk when I sewed the pieces back together. Now I have 12 blocks to arrange into a lap quilt. We put together 4 layouts and invite you to help me decide which to use (or suggest one of your own).

Thursday, February 13, 2014

Cheese and Crackers, Anyone?

I've had a soft spot for 30's fabrics since I was a kid. They populated my Gram's fabric stash. Only difference between those and the ones you find in the stores now -- hers were the originals.

Fast forward a couple decades and to a quilt guild rummage sale. I found a "Cheese and Crackers" pattern featuring 30s fabrics. I kept my eyes open and collected enough for a quilt. Every now and then I would open the box, cut a few strips, sew a few seams. Last month I decided that I had enough for a nice sized quilt. Actually I had enough for a nice sized quilt and a twin.


The pattern has a single primary block separated by white spaces. In one row, it sets horizontally; the next it's aligned vertically.

Using the 30s fabric and a unbleached background resulted in a relaxing quilt. I imagine you could take another style of fabrics and a dynamic background and the quilt would jump up and down, attracting attention.

(I'll be updating with finished pictures of both the queen and the twin sized versions.)


Tuesday, February 11, 2014

Quick and Easy Baby Quilt

Are you looking for an easy, almost fail proof quilt you can make up in an afternoon? I stumbled onto one in the back room of a small town quilt shop. During the East Tennessee shop hop, I was introduced to an intriguing cutting guide. It made pinwheel patterns from 9 patches. Although it wastes a bit of fabric, it significantly cuts down on matching seams. The end product looks more complicated than the actual process.


I chose a variety pack of dotted batiks, using a leftover muted background. An abstract butterfly pattern hooks the blocks together. It's machine quilted on my sewing machine. Overall, it's a quick and easy baby quilt.

Sunday, February 9, 2014

Five Generation Quilt

This is the oldest of The S’s half finished projects.  About 100 years ago my great grandmother’s mother aunts and maybe grandmother got together to make a multi-generational quilt to give to their daughters.  The plan was to put the quilt together and use it and remember the family. My grandmother pieced hers with homespun linen and saved some of the blocks for her daughter. The quilt my grandmother made her squares are the ones with the thirties fabrics. 

 
These are actually quite cool to have around however maybe it’s time to finish the quilt? Now here is my dilemma ... what to do? Make more blocks as my great grandmother intended? Just sew what we have together? Use new fabric or old fabric?